Helios Search
The EQuIS Helios Home page is the main page for end users and where users search the repositories to find documents.
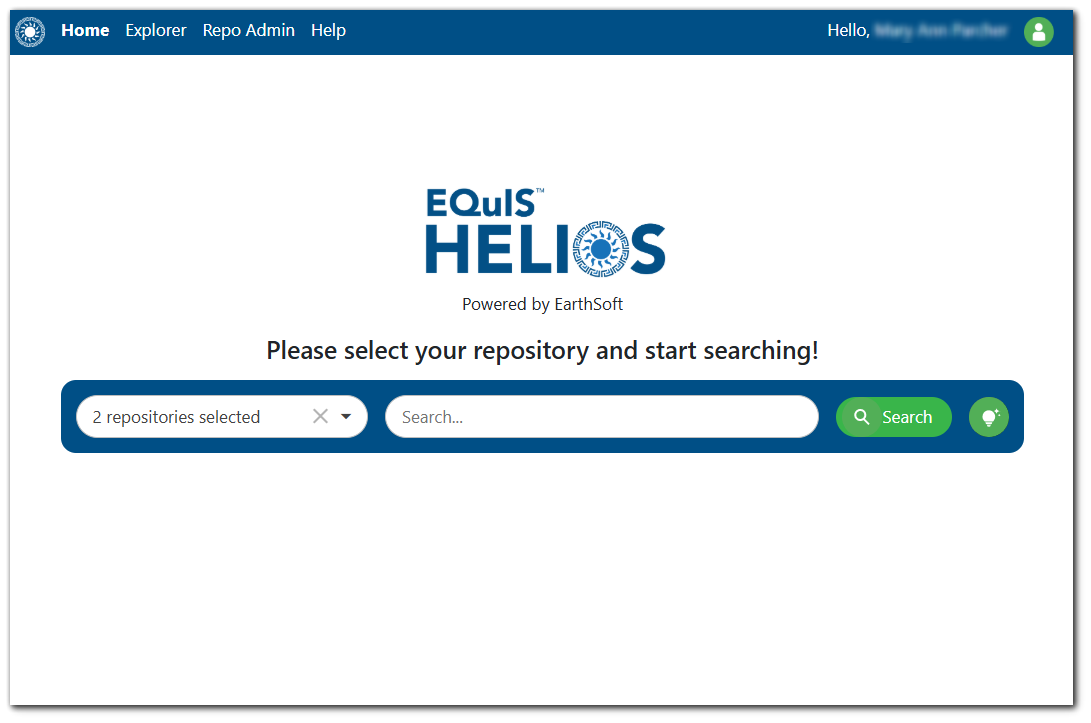
The following steps describe how to search the repositories.
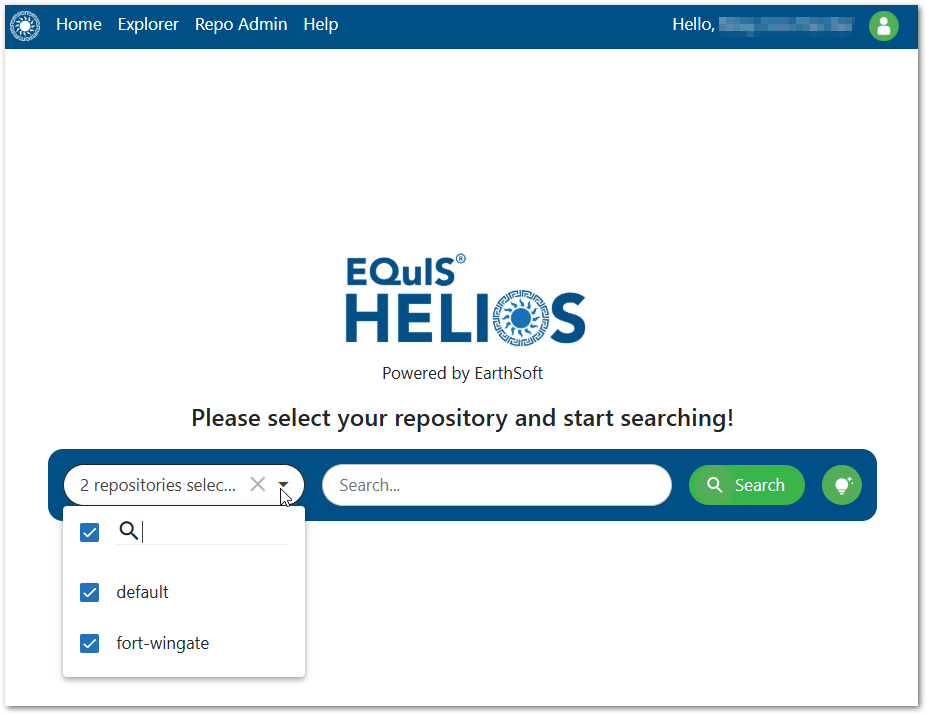
Step 1 – Select Repositories
The repository drop-down contains all the repositories to which the user has permission. Select which repositories to search. By default, all repositories will be selected.
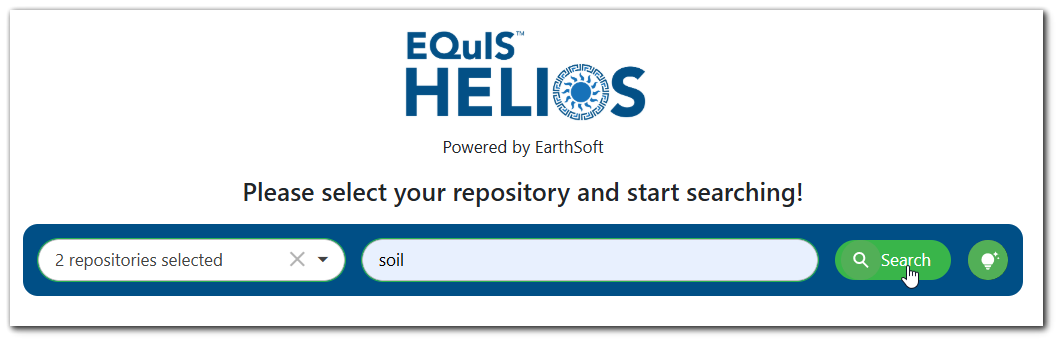
Step 2 – Perform Search
Search for the desired document(s) by entering search term(s) in the Search box and then clicking the Search button.
Below are different ways users can search for documents:
Key Word Search: Key word is a standard search using a key word found in the document such as the filename, a person, place, or organization referenced in the file.
Semantic Search: Semantic search will use context clues to understand what users are searching for (e.g., a computer mouse vs a field mouse)
Using Quotations: Using quotes (" ") around multiple words will search for these words as a phrase in the documents.
- Example: "As-Built"
- Example: "Consent Decree"
Using Asterisks: Using the asterisk (*) as a wildcard in the search where the user knows the beginning of a word or title of an item but is not sure of the rest of the search.
- Example: bor* will find documents containing "boring" and "borehole"
Tip
For convenience, search tips can be found by clicking the light bulb icon to the right of the search button.

Step 3 – Review Search Results
All the documents relevant to the search terms will be displayed in the search results grid.
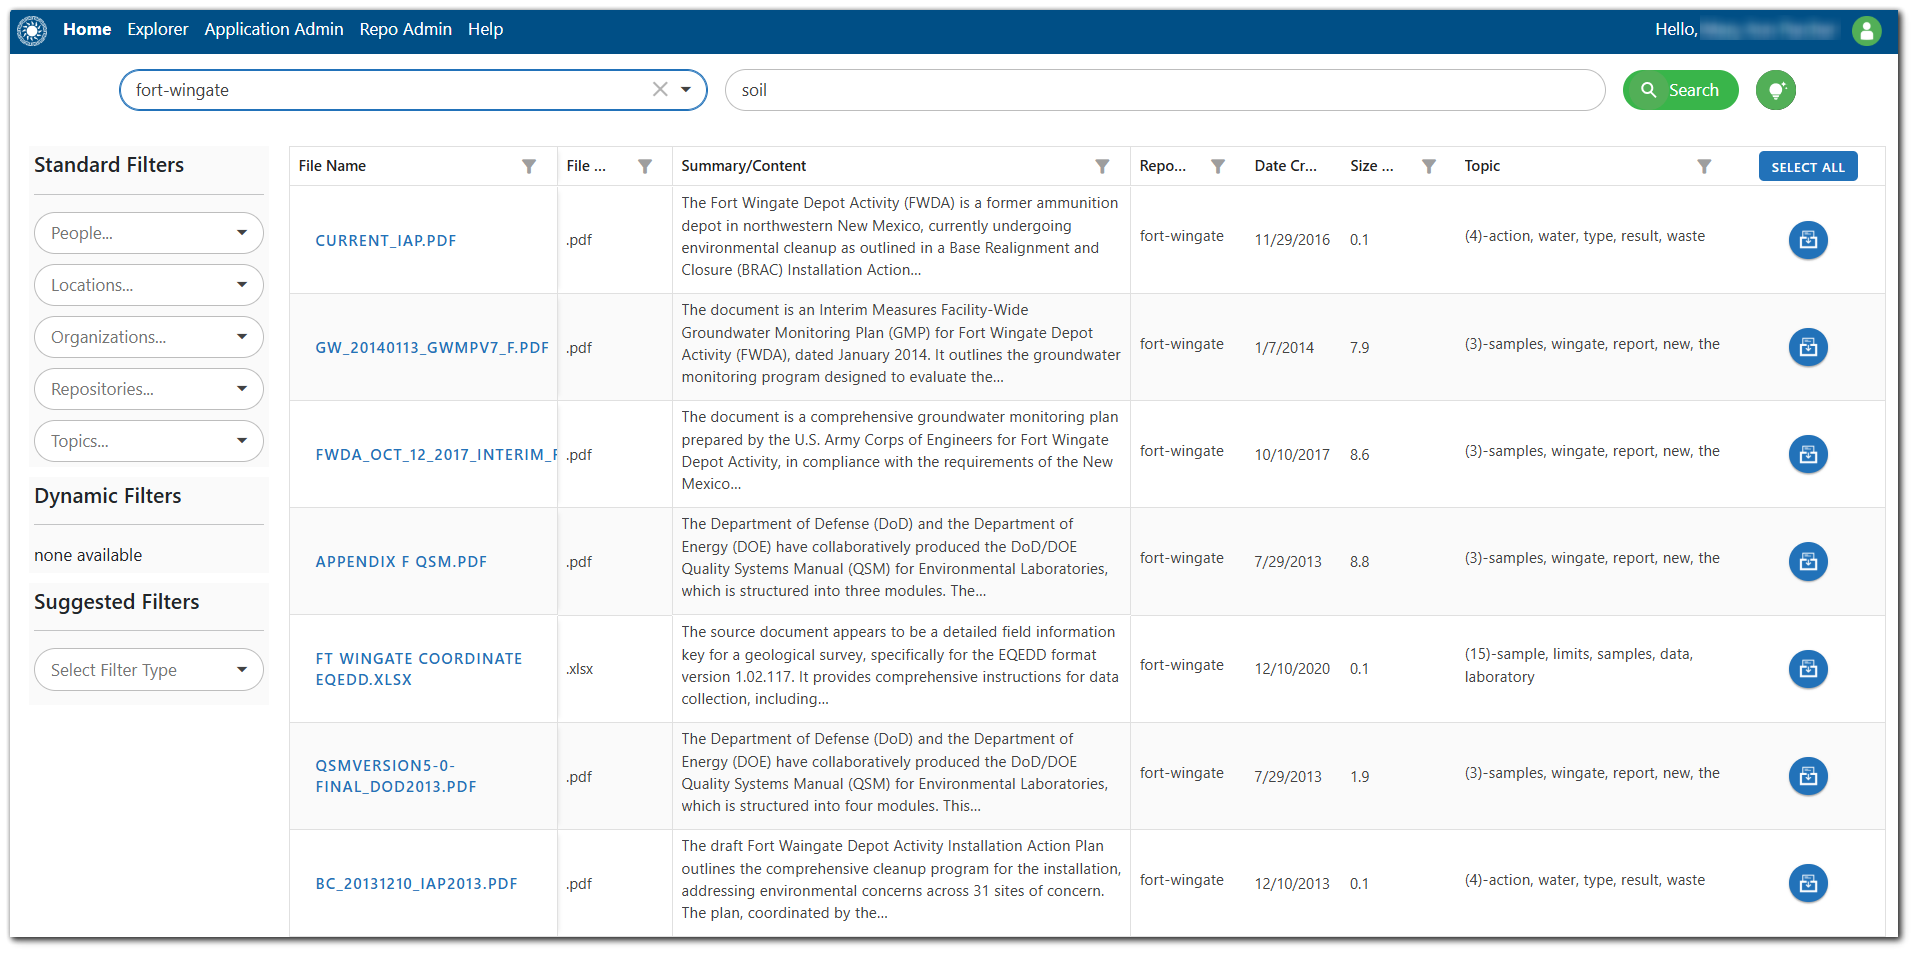
As seen in the image above, Helios automatically flags files that may contain Personally Identifiable Information (PII) and/or profanity. Users may not download or add these files to the DocBox. Helios Administrators are responsible for reviewing these files and determining whether they should continue to be flagged.
Use the Summarization/Content column of the grid to read an AI-generated summary of the content for each file. Hover the mouse over the summary cell to read the entire summary in a tooltip.
Page through the results to determine if the desired documents were found. Users can adjust the repositories being searched or perform a new search utilizing the search bar above the results grid.
Note
Page URLs contain search criteria (repository name and search terms) and are part of the browser history. This allows users to navigate back and forth between searches and other pages. The search URL can be bookmarked or copied into another browser window/tab.
Step 4 (Optional) – Filter Results
Narrow down the search results using the standard, dynamic, or suggested filters in the left pane. See the Search Filters article for more information.
Step 5 – Add Document(s) to DocBox
Add desired documents to the DocBox for downloading and/or extracting data by clicking the Add to DocBox icon ![]() .
.
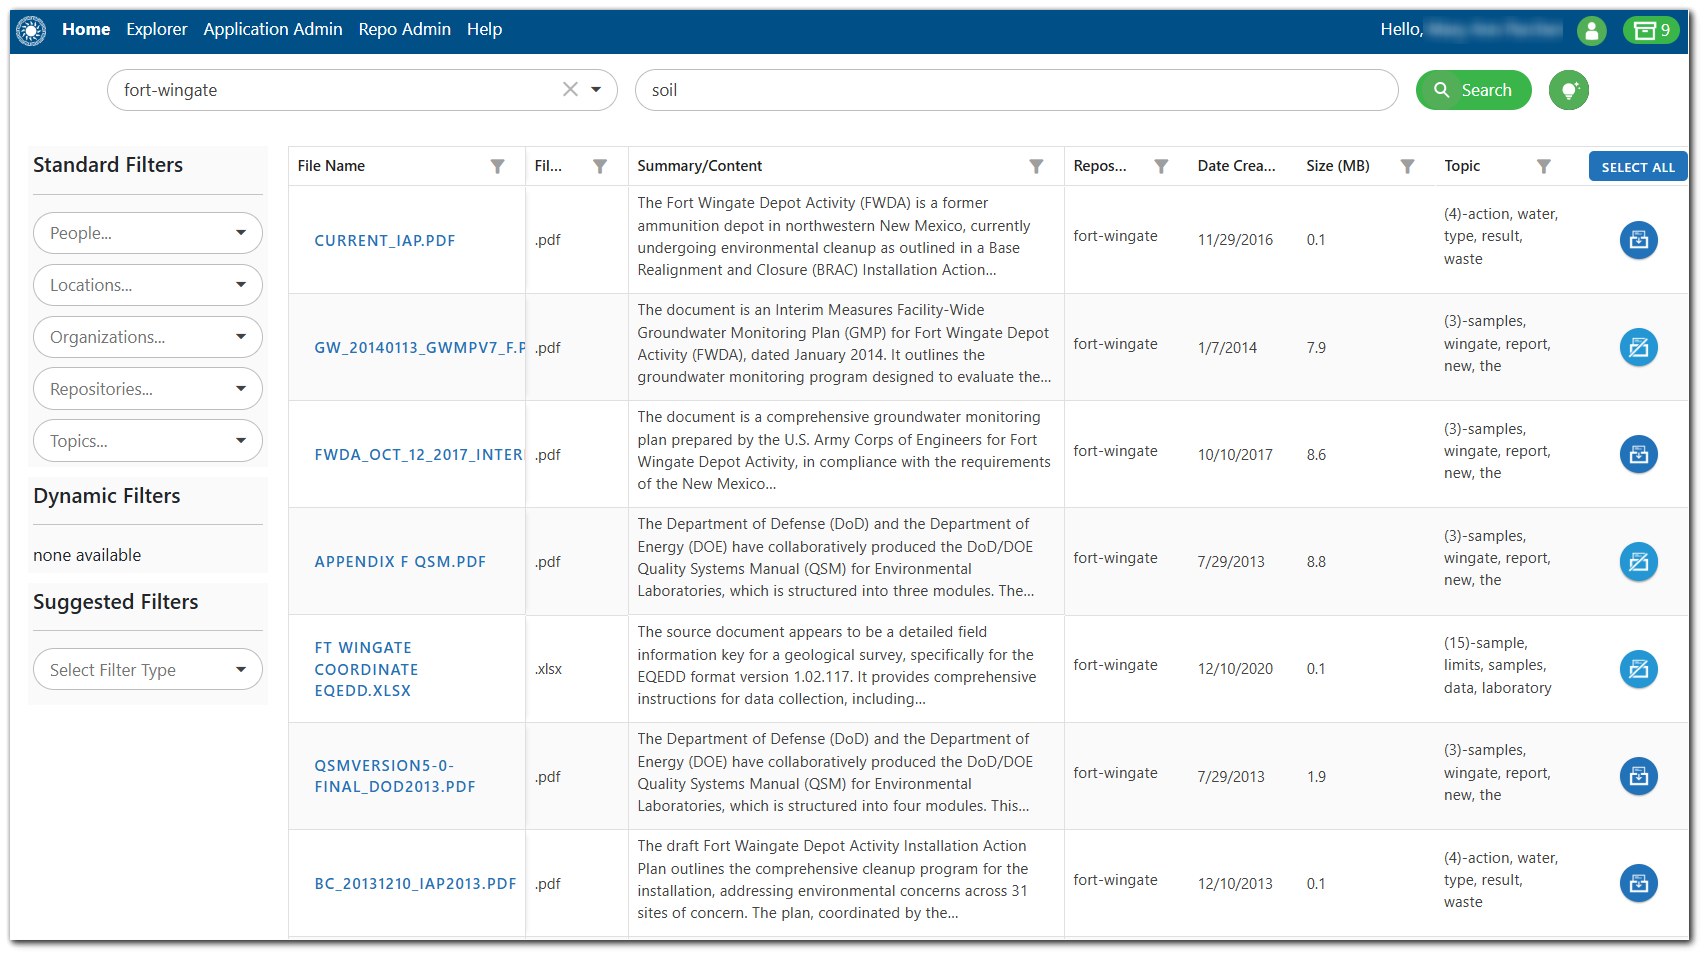
As documents are added to the DocBox, the Add to DocBox icon will change to a Remove from DocBox icon ![]() and the DocBox icon will be displayed in the right-hand corner of the Helios header with a count of the files in the DocBox.
and the DocBox icon will be displayed in the right-hand corner of the Helios header with a count of the files in the DocBox.
Step 6 – Open DocBox
Click the DocBox icon to open the DocBox.
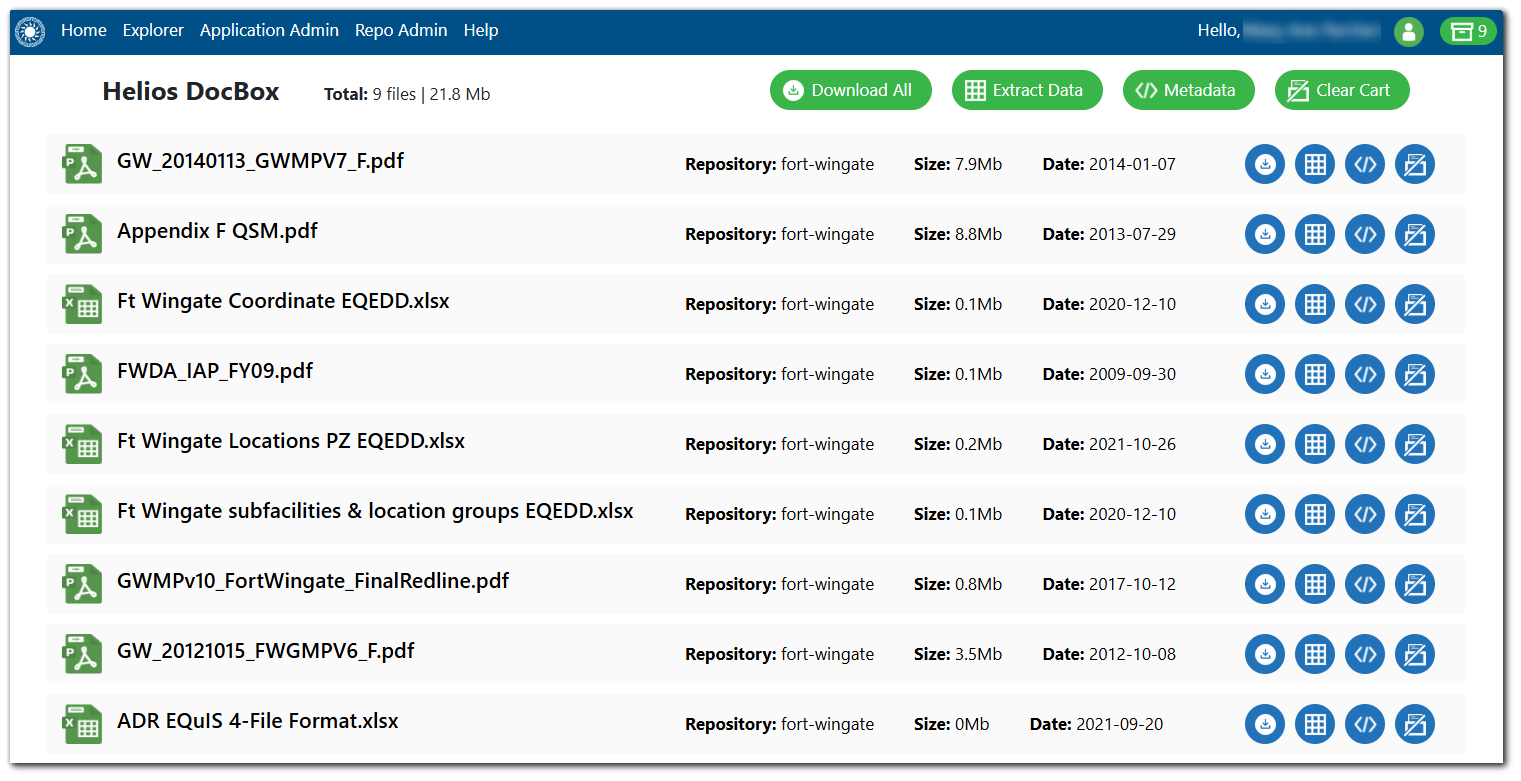
Step 7 – Download Documents/Extract Data
From the DocBox, files can be downloaded and/or data can be extracted. See the DocBox article for more information.